这两天重装了Linux,又不想再用GUI的SS,网上的资料都不怎么好用,自己动手折腾了一下。
安装环境
(依赖Python)
1 | sudo apt-get install build-essential python-pip python-m2crypto python-dev python-gevent supervisor |
然后执行:
1 | sudo pip install shadowsocks |
创建config.json文件
然后找到/usr/local/lib/python2.7/dist-packages/shadowsocks路径下
新建文件:config.json,将以下代码复制其中,修改你的SS服务配置。
1 | { |
注意
如果要使用salsa20或chacha20或chacha20-ietf算法,请安装 libsodium(如果是aes-256-cfb则可以跳过这一部分)
编译安装:
1 | apt-get install build-essential |
保存之后就可以暂时启动了。
(终端路径依旧在/usr/local/lib/python2.7/dist-packages/shadowsocks下)
1 | python ./local.py -c ./config.json |

这样才算运行成功。
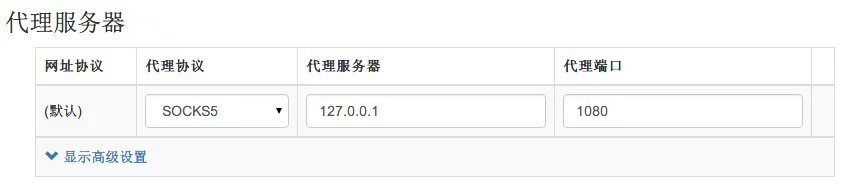
在Chrome中添加插件(SwitchyOmega)配置后运行如下:(SS代理)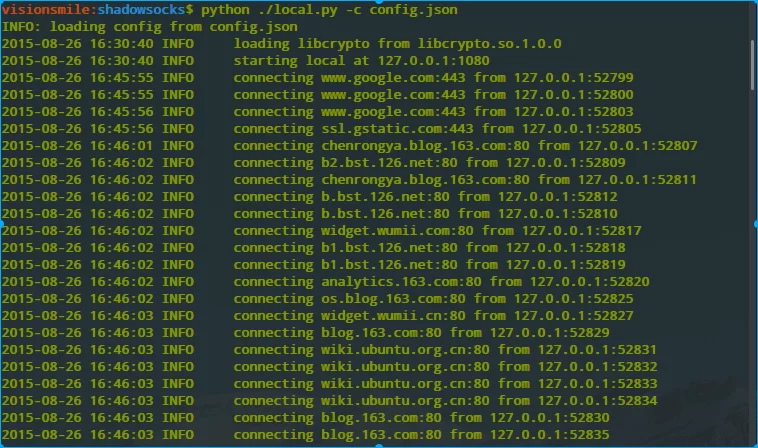
(后面附上SwitchyOmega配置)
不过每次启动都要这么麻烦翻目录和敲命令,挺烦。
将SS服务设置开机启动
1 | sudo gedit /etc/rc.local |
该文件初始内容为:
1 |
|
我们需要把启动SS服务的命令写上去(脚本和配置文件一定要是绝对路径)
1 |
|
保存后即可,重启系统之后就会自动启动SS服务了
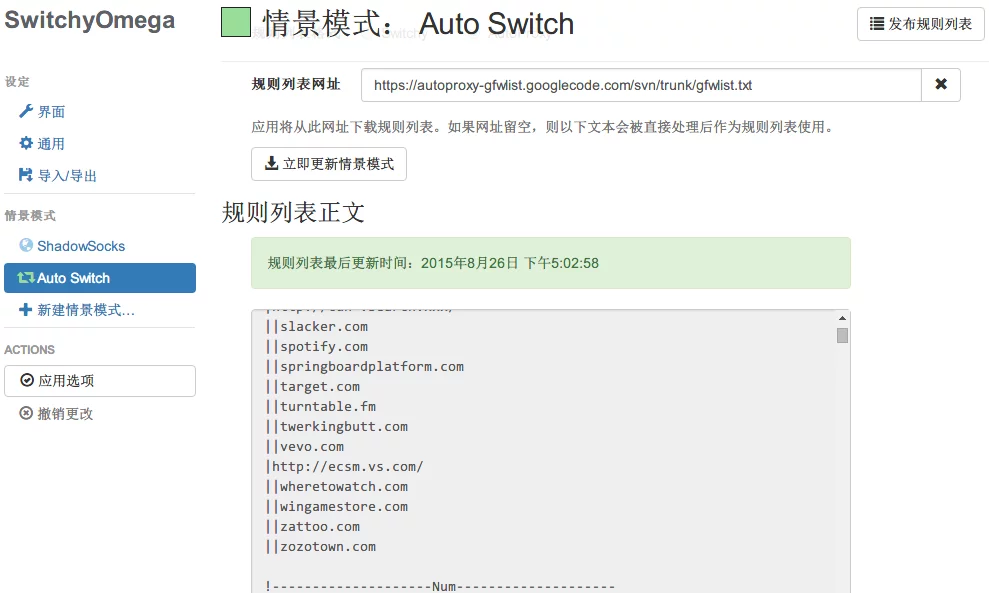
SwitchyOmega设置
gfwlist项目已经迁移到了github:gfwlist
Auto Switch规则列表:
https://raw.githubusercontent.com/gfwlist/gfwlist/master/gfwlist.txt